At DriveSavers, we often receive requests for data recovery from grieving family members who don’t know the passcode to their loved one’s device.
How to Remove a Hard Drive in 6 Easy Steps

Understanding general device maintenance and repairs, like how to remove a hard drive, is a great way to extend your computer’s shelf life. Going DIY on your hardware may seem a bit advanced for an everyday user, but you’d be surprised to discover just how easy taking care of your hardware can be.
Learning how to remove a hard drive from a computer is one of those tasks that probably sounds intimidating. But you can safely remove a hard drive from a laptop or desktop yourself. Here’s how to remove a hard drive in six easy steps.
Step #1: Back up your data
If you’re not on a regular backup schedule, set one up as soon as possible. This is easier said than done, especially if you need to remove your hard drive because of a malfunction. A good rule of thumb is to get on a backup schedule and routinely save your information, both to an external device and a cloud-based storage service. This way you’re completely covered should a hard drive failure or other catastrophic event occur.
Step #2: Cut the power
When you open a computer to remove an internal hard drive, the last thing you want is live wires or other electrically charged components that could injure you. So be careful to not only power down your machine, but also completely unplug the device to make sure the computer isn’t connected to a power source.
You’re probably thinking this step is obvious. But there are plenty of users out there who’ve neglected this step, only to be shocked or worse, electrocuted! You don’t want that, so take the time to make sure you’re safe.
Step #3: Open your case
Now we’re at the exciting part! If you’ve ever wondered what’s inside a computer, you’re about to find out. If you have the device’s original manual, the instructions should provide insight into how the computer is assembled and how to remove the outer layer. The original packaging may even include a special tool to unscrew the typically tiny screws used to keep your device together.
If you don’t have the original manual, don’t worry. Inspect your computer carefully and thoroughly. You can probably figure out how the computer is held together, and what tools you’ll need to take the device apart, just by looking at the outside.
Neither of these options working for you? A quick Google search will provide plenty of resources to help you crack the case.
Step #4: Find the hard drive
When you’ve removed the outer layer of the computer, you’ll discover a labyrinth of circuits, wires, and chips. At first glance, these components are intimidating. Don’t let them distract you from the important task at hand.
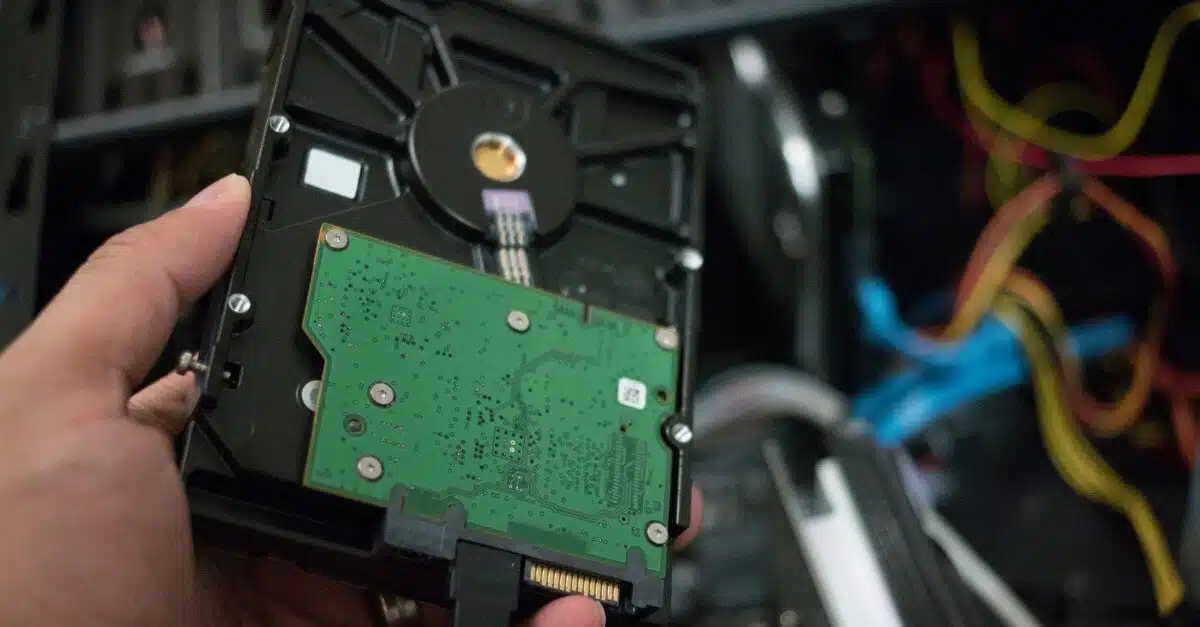
What does a hard drive look like? Look for a cage-type assembly with a rectangular metal box inside. The box will be about around a quarter-inch thick depending on the type of drive you’re working with.
Now that you know what to look for, you’re probably wondering where is the hard drive located? The hard disk location is usually near the front of the case, close to the optical and other drives. The drive will be clearly labeled.
Step #5: Remove the hard drive
Take a good look at the drive to determine how the device is connected to the computer. Most newer disks can be removed without a tool. You simply pull a lever or switch. Others may require a screwdriver or other similar tool.
If the drive is on rails, use two hands to gently pull on the cage to remove the disk. If you feel any resistance, don’t force it! You may find cables preventing the drive from sliding. Disconnect these before resuming work.
Step #6: Disconnect the cables
The last and most important step of how to take a hard drive out of a computer is to disconnect the Serial Advanced Technology Attachment (SATA) cable and power connector. The SATA cable is a wide, thin ribbon-like cord connecting the hard drive to the motherboard. Keep in mind these are sometimes connected with glue, so do your best to gently disconnect the cable and remove any residual glue.
The power connector is a plastic, rectangular connector that may also take some effort to remove. Be gentle, and don’t force anything!
When your hard drive is successfully disconnected and completely removed, be sure to put the disk in an anti-static bag to prevent damage or data loss. This is a crucial step if you intend to get professional help recovering data from your old disk.
Recovering information from a broken hard drive is possible. Contact the professionals at DriveSavers today to find out if your data can be recovered!


