How to Remove a Computer Hard Drive in 6 Easy Steps
How to Remove a Computer Hard Drive
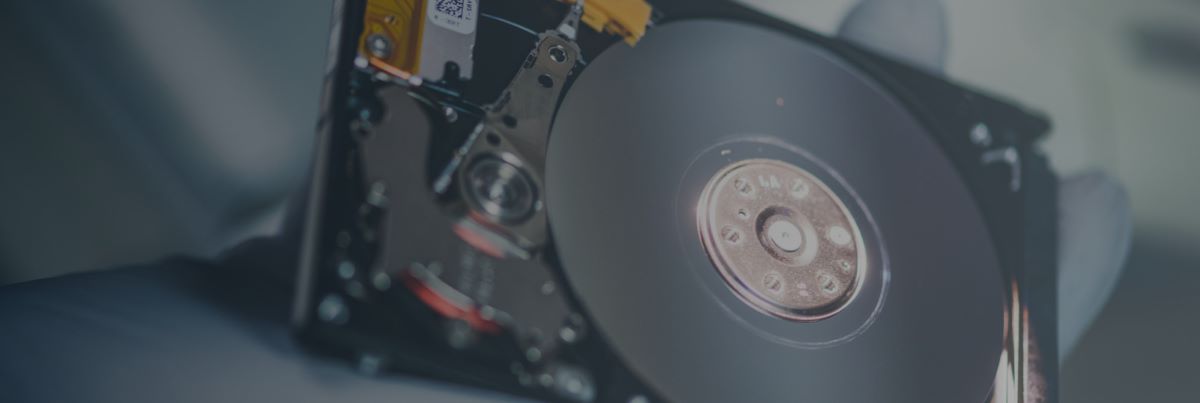
Removing a hard drive from a computer for professional data recovery services, such as those offered by DriveSavers, is often a necessary step when dealing with data loss. It can also be useful when upgrading storage or replacing a failed drive.
Whether you’re working with a desktop or a laptop, the process is generally straightforward if you follow the correct steps. This guide explains how to take a hard drive out of a computer safely and highlights important precautions when handling both hard disk drives (HDDs) and solid-state drives (SSDs).
HDD or SSD
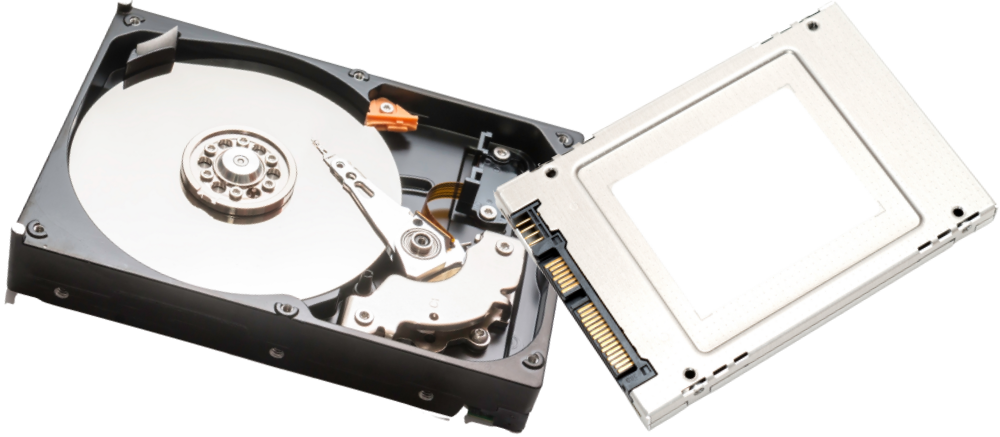
Before you get started, it’s important to know whether your device uses a removable hard drive or embedded storage. Traditional HDDs and SSDs in computers are removable and replaceable. They connect in the system with standard cables or slots and can be safely removed for upgrades, replacement, or data recovery.
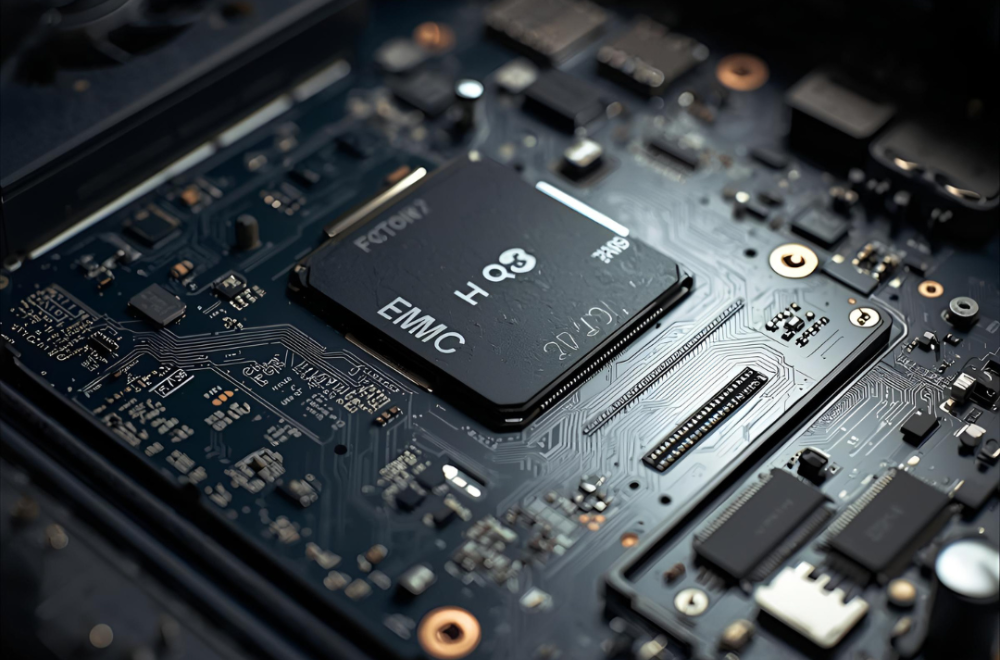
Embedded Storage
However, some devices—especially ultra-thin laptops, MacBooks, Chromebooks, and tablets—use embedded storage, such as eMMC chips, which are permanently soldered to the motherboard. Embedded storage can’t be removed or swapped out like a standard drive. If you’re unsure what you have and need to send it in for professional data recovery service, we recommend sending the entire laptop, checking your device’s manual, or asking a service provider before disassembling it. Attempting to remove embedded storage yourself can cause permanent damage to the device and the data.
Once you’re sure you have a removable HDD or SSD, you’re ready to get started. Here’s what you will need, and a step-by-step guide on how to remove a hard drive from a computer.
What You Will Need
Step-by-Step Guide
Now that you have removed the computer hard drive, proper packaging is essential to protect both the device and your data during transit—especially if you’re sending it to a professional data recovery service like DriveSavers.
How to Package Your Drive for Safe Shipping
Shipping Your Drive to DriveSavers
- If you’ve already contacted DriveSavers, you should have received a free FedEx shipping label.
- If not, our Data Recovery Advisors are available 24/7 at 1 (800) 440-1904 to help you get started and issue a label.
Trusted Experts in Data Recovery
At DriveSavers, we’ve successfully recovered data from hundreds of thousands of damaged or failed devices—ranging from traditional HDDs and SSDs to soldered embedded storage using advanced techniques.
If your data is important, don’t take chances.
Call DriveSavers today—we’re ready to help you recover your data.