After encountering a critical data error during a same-day edit, Robert, a wedding cinematographer from Chicago, turned to DriveSavers for help. Having already experienced two successful data recoveries using DriveSavers in the past, he was confident we could help him restore files from a formatted SD card.
How to Fix an External Hard Drive that Keeps Disconnecting

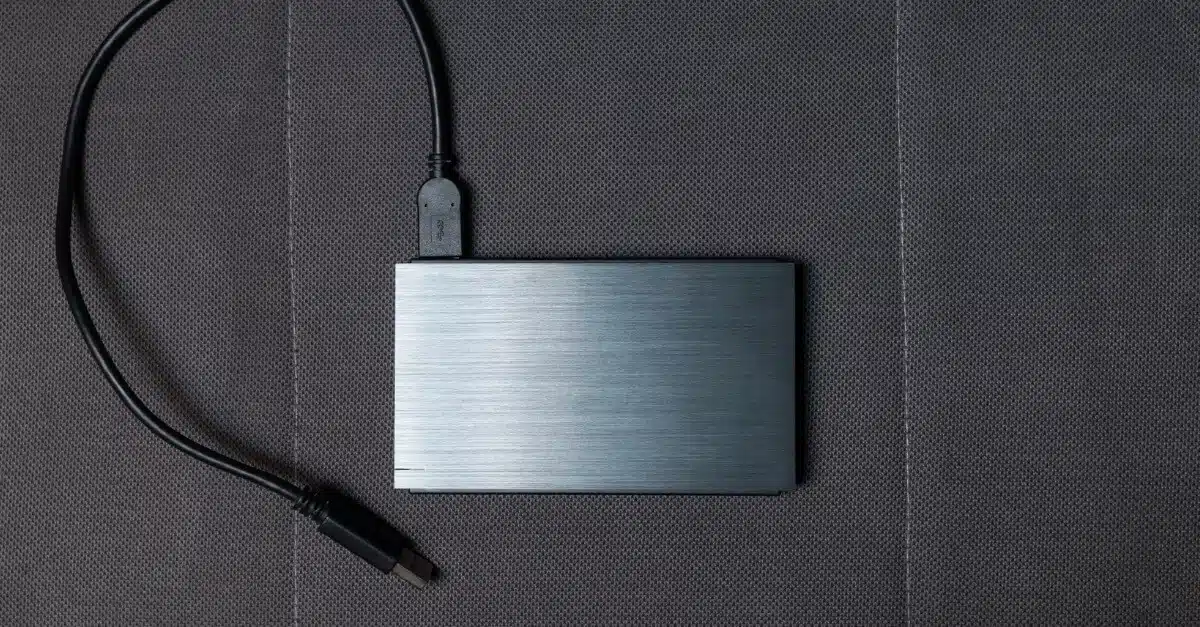
Have you ever battled shoes with laces that just won’t stay tied? No matter what you do, you’re left frustrated and in constant danger of tripping. When it comes to your external hard disk drive or solid-state drive (SSD), dealing with constant disconnecting issues can be equally annoying, particularly when you’re trying to access important data.
Fortunately, there are a few methods to fix this common problem, which should hopefully ensure you continue to have easy access to the files you’ve stored on the device. In this post, we will share four troubleshooting tips you can try when your external hard drive keeps disconnecting.
Start by Protecting Your Data
Before you attempt any troubleshooting methods, you must ensure you have a recent backup of the files stored on your device.
Any attempts to repair your hard drive come with a certain amount of risk that you’ll lose your files, particularly if you make a mistake during the troubleshooting process. So, make sure that you’ve backed up your data using one of the following methods:
All of these options can offer a good backup solution, so we’d recommend determining which method best suits your data storage needs.
Methods to Fix a Disconnecting Hard Drive
Now that your data is safely backed up, you can start trying out the following troubleshooting steps. We’d recommend testing each solution in order until you find one that solves the issue.
Switch USB Ports
By far the easiest of all fixes, your first step could be to simply try connecting your external hard drive to your computer or laptop using a different USB port. If this works — problem solved! If you’ve only got one USB port, we’d recommend a similar first step, but instead of changing ports, remove your hard drive and ensure the USB port is free of any dust or debris. Then, reconnect your drive and see if the issue has resolved itself before trying out any subsequent steps.
There are two different types of USB ports on many devices, both with different capabilities and speeds. The first and oldest version is USB 2.0. This port, first introduced in 2000, offers a maximum data transfer rate of 480 megabits per second and has become the standard port for connecting various devices to computers and laptops. In contrast, USB 3.0 — also known as a SuperSpeed USB — debuted in 2008 and is significantly faster than its predecessor. The USB 3.0 port can achieve a data transfer rate of 5 gigabits per second, approximately ten times faster than USB 2.0.
But why is this important? Well, some devices with USB 3.0 can be adversely affected by Windows 10 and 11. So, if your hard drive keeps disconnecting from Windows 10 or 11, you may be experiencing this issue. If your computer or laptop has both types of USB ports, it’s therefore advisable to try plugging your drive into each of the different ports to see if it fixes the disconnecting issue.
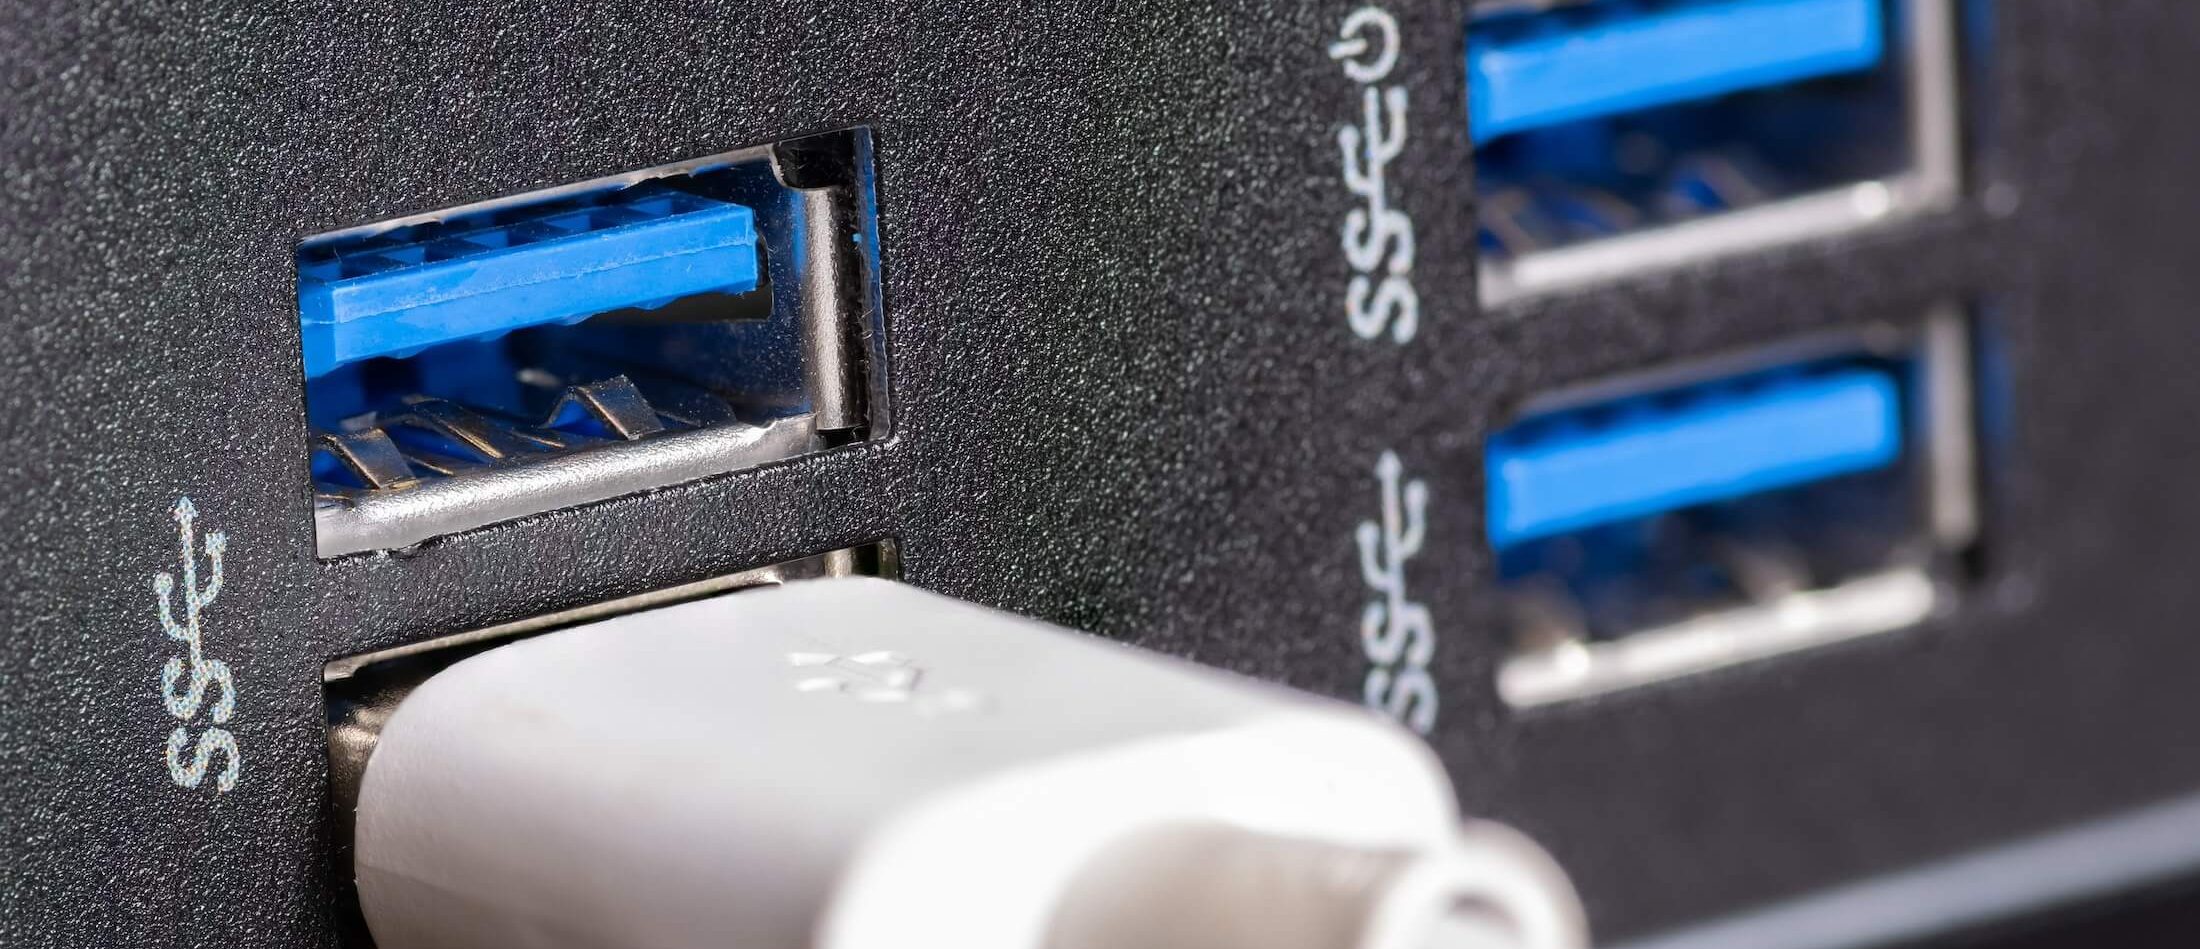
To see which ports are present on your computer or laptop, simply check their color; USB 2.0 ports are black, while a blue port signifies a USB 3.0 connection. If you do find that you’re experiencing Windows 10 or 11 and USB 3.0 issues, we recommend updating your 3.0 drivers and testing the port again.
Turn off Power Saving Features
One of the most common sources of USB connectivity issues is an insufficient power supply. For Windows devices, USB Power Saving is a built-in feature designed to turn off USB devices after a period of inactivity — even when they’re still plugged in. When your computer does this, your external hard drives often don’t have enough power to maintain the connection to your device, leading to disconnection issues.
While macOS systems don’t have the same power-saving feature specifically for USB devices, they do have their own “Energy Saver” settings that affect how USB devices consume power.
Follow these steps to turn power-saving features off on your Windows or Apple device:
Windows USB Power Saving
- Go to the Control Panel, navigate to “System and Security,” and then “Power Options.”
- Click “Change Plan Settings.”
- Click “Change Advanced Power Settings.”
- Scroll to “USB Settings” and click the plus symbol to expand the drop-down menu. Then, click on “USB Selective Suspend Setting” and change it from “Enabled” to “Disabled.” Lastly, click “Apply” to ensure your changes are implemented.
macOS Energy Saver
- In macOS, you can adjust power settings for USB devices by first navigating to “System Preferences.”
- Then, click on “Energy Saver.”
- From this menu, you can control settings that can affect how USB devices consume power, although these features are much less customizable than their Windows equivalents.

Disable the Default Boot Process
Sometimes, the boot process used by BIOS firmware can overlook external hard drives connected via USB, meaning they will not properly connect to your computer or laptop. This is a common issue with both USB 2.0 and 3.0 ports, so changing where your device is plugged in is unlikely to fix this issue. Instead, if you are using Windows, you should disable the legacy boot process in BIOS. To do this:
- Open “Device Manager” and double-click on the affected external hard drive.
- Navigate to the “Policies” tab and ensure “Better” performance is ticked. Then, set write caching on the device to “enable.”
- Click “OK” to make sure the changes are implemented.
- Lastly, head back to “Device Manager” and right-click on the Intel 3.0 extension driver. Select “Uninstall.”
There isn’t an equivalent to the Default Boot Process for macOS, so if you’re using an Apple device, you’ll need to skip this step.

Check and Repair Hard Drive Errors
If you’re still facing disconnects with your external hard drive, don’t give up yet! There’s still one more fix you can try. Before you attempt this troubleshooting method, it’s crucial you have a recent backup of your data, so double-check that you’ve used one of the backup solutions we suggested earlier in the post. Repairing hard drive errors can cause data loss — and if you don’t have a backup, that loss will be permanent.
The reason why your external hard drive keeps randomly disconnecting could be because of bad sectors in the drive. If that’s the case, those sectors will cause corruption and poor connectivity. But, if you’re using a Windows computer or laptop, there is a built-in driver check feature that can help you get rid of bad sectors on the disk. Here’s how you use it:
- Open “This PC” using the search bar in your start menu, and then right-click on the drive you want to check and click “Properties.”
- Select the “Tools” tab and click “Check.”
- A “Disk Options” window will pop up. Check “Automatically fix file system errors” and then “scan for and attempt recovery of bad sectors.”
- Click “Start” to begin the repair process.
If you’re using a macOS device such as an Apple Mac computer or a Macbook, you can use “First Aid” to perform similar repairs. Simply launch “Disk Utility” from your “Applications” menu, select your external hard drive, and run “First Aid” to verify and repair any disk errors.
Rely on Experts to Guarantee Your Data’s Safety
Dealing with the frustration of an external hard drive that keeps disconnecting can significantly disrupt your workflow and create stress about losing valuable data. However, by following the troubleshooting steps outlined in this post, you can tackle this issue and hopefully regain reliable access to your storage device.
If you’ve tried every method we’ve recommended and are still experiencing the same issue, it could be time to seek expert assistance. Here at DriveSavers, we understand the importance of having reliable access to your data, and our team of data recovery specialists are here to help and guide you every step of the way towards recovering data that might be lost on your external drive. Using the latest equipment and techniques, we can succeed in the most complex data recovery situations, and our team is always ready to speak to you to understand your specific situation and offer personalized solutions perfectly tailored to your needs.

Call DriveSavers Day or Night
We will email a free overnight shipping label and then call with the results of the evaluation and the cost to recover the data. If the data is unrecoverable or you choose to decline the recovery, your cost is zero dollars.
Related Posts